Thursday, July 4, 2013

WV Woodshed - The Reboot & All the best Virginia Hardware...

Super short blurb...

Well its been about a month and a half since I last posted, but I haven't been idle in the woodshed. While my Mother's passing and other personal matters shook me to the core, shop time working on various projects is what gave me peace and the time to reflect on the whirlwind around me. While I wouldn't say I have weathered the storm well; I would say that deluge is dwindling.

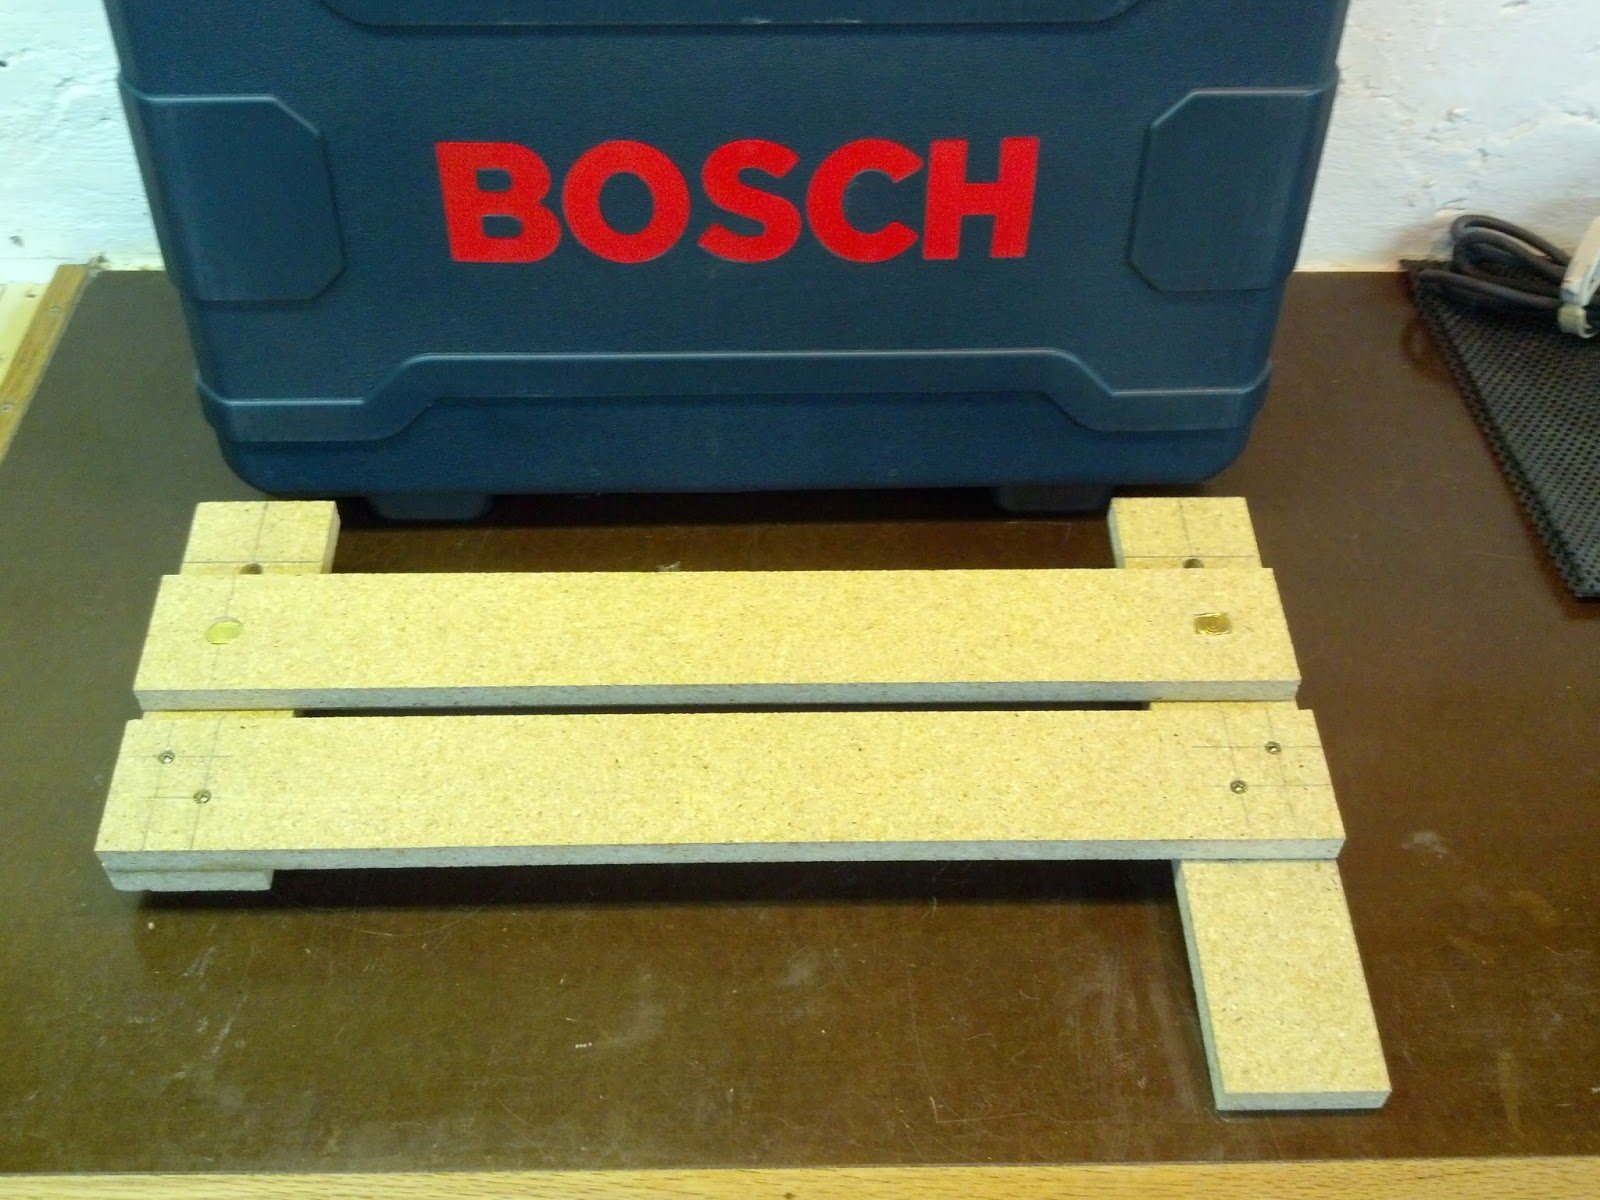
It is my intention to hit the ground running with the blog again this weekend. Along with a short note on the recent Southern West Virginia and Southwestern Virginia Modern Woodworkers Association meeting, I hope to post an update on the status of previously mentioned ongoing projects, at least one new project, upcoming shop plans and other projects. Once I get through this initial update; my first project will hopefully be building a stable workbench. This won't be a Roubo by any means, but I am hoping it will be a very heavy, sturdy and functional, especially in the area of work-holding capability, addition to the shop. The significance of this project is I intend to post a crazy amount of detailed blog updates, brief twitter notes and, although my hillbilly accent may drive some folks crazy, I may even do my first video.

I am extremely hopeful that anyone reading/watching these updates will find the information interesting, mildly entertaining and opinion generating. Above all I am hopeful the increased volume of posts will generate feedback to help me build a better workbench and help with future projects and technical knowledge. Its hard living and learning in virtual isolation, so any interaction is good interaction as far as I am concerned.

Lastly, sad news for my local woodworking community, Virginia Hardware the ONLY local woodworking supply store (Rockler Affiliate Store) in our immediate area is shutting their doors after a 100+ year run. Everything in the store is on sale 20-30% off original price. I personally purchased a couple of router bits at a 30% savings, although I'd pay full price if it kept the doors opened. Ron Hart, current owner has been more than generous in his willingness to host our meetings up to the doors closing. Honestly while I truly hate to see another small local business lose the fight, the loss of Ron and his staff to the woodworking community really bites. I realize most folks reading this aren't local, but I am providing the contact information for the store below in case someone may want to contact Ron about making a purchase or other business arrangement. To everyone at Virginia Hardware all the best in future endeavors; you will be sorely missed!!!

Virginia Hardware (a Rockler Affiliate Store)
1411 N. Walker Street
Princeton, WV 24740
(304) 425-3570


Friday, May 24, 2013

First Meeting - SWV & SWVA Modern Woodworkers Association

This week's post is simply a call for participation in the initial Southern West Virginia & South Western Virginia Chapter of the Modern Woodworkers Association. The meeting is to be held Saturday, June 15th at 10:00am. We anticipate the meeting will last 1 to 1-1/2 hours.

In the area I live there are currently a limited number of woodworking resources. The few that do exist are niche' or skill specific, as in carving, turning, etc. Through my website I have met other woodworkers interested in developing a local community for all skill sets to discuss and share information about their individual passions or anything and everything woodworking.

Ron Hart, Owner/Operator of Virginia Hardware (a Rockler Affiliate Store) has generously opened his doors to host our initial and subsequent meetings. This initial meeting will be geared towards setting up the group, organizing a schedule for future meetings and creating/brainstorming concepts for meeting topics and member participation. Some ideas for topics include:

1. What's On Your Bench
2. Cool Tools Used In Your Shop
3. Technique Of The Month
4. Show And Tell
5. Just Showing Off

The address for the meeting is:

Virginia Hardware (a Rockler Affiliate Store)
1411 N. Walker Street
Princeton, WV 24740

Contacts for information:

Stephen Duffy = wvwoodshed@gmail.com
Pat McNulty = pmcnulty@gmail.com

PLEASE COME, PARTICIPATE AND SHARE YOUR WOODWORKING KNOWLEDGE WITH OTHER LIKE-MINDED INDIVIDUALS!!! HOPE TO SEE YOU THERE!!!
Until My Next Post...

Keep Your Mind On Your Fingers And Your Fingers On Your Hands!!!

Tuesday, May 21, 2013

Call for suggestions, guidance and/or constructive criticism...

I am trying to figure out what I can do to improve the content at the WV Woodshed. I get limited feedback, so my insecure side is assuming that the content lacks the intellectual mojo to entice discussion and/or the oafish ignorance to incite a verbal bashing. Either way, my original intent with publishing my experiences was to receive both positive and negative feedback, which brings me to this post.

Often I wonder what others think of the content I am posting. Is there enough detail in the descriptions of my processes, is my grammar and punctuation meeting their expectations (no language major here, for sure), are the subjects relevant, how do they perceive my (attempted humorous) writing style, are my photos successful at depicting the points I am trying to convey and the list goes on and on and on.

So here is your chance to help me give you more of what you want. Your opportunity to let me know what aspect of the site most disturbs you. It's your big opportunity to really give me the what for, send me back to school and/or go gangsta' up and in here. Whatever you think!!! I want to hear it, woodworker to woodworker or blogger to blogger. It doesn't have to be overly detailed or long winded. Just to the point and honest. Honestly, I just want to grow from both a woodworking and blogging perspective, so come on, Hit Me With All That Ya' Got, I Can Take Honest, I Can...

Until my next post...

KEEP YOUR MIND ON YOUR FINGERS AND YOUR FINGERS ON YOUR HANDS!!!

Saturday, May 18, 2013

Current Projects On The Workbench...

Curve Balls, sliders and occasional knucklers have been crossing my plate over the recent weeks, but it seems more and more difficult to get the shed outta my head. For those of you have asked, both my wife's and mother's health have improved and I appreciate your concern. Hopefully things will remain stable for an extended period and I can focus on completing the projects I currently have on my workbench. Seeing I've been bouncing from one project to the next recently, I thought it would be a good opportunity to share the currently active list.

One of the earliest projects I started actually started right after completed the end grain cutting board back in September 2011. At the end of the cutting board glue up I had a little incident with a couple of laminated pieces snapping at the glue line. I assume I didn't have adequate glue in those joints and they failed as a result during the glue up. The cutting board that resulted has held up perfectly fine and I have no issues with other areas separating even slightly, so who knows exactly what I did wrong. Anyway it seemed like quite a waste to just scrap the remaining pieces, so I pondered how I could use them in another project. I came up with the idea of using them to create a lamp. So I drilled holes through each of the pieces and inserted a hollow metal rod through them. By the time that was done the glue had dried on the cutting board and the lamp was place on the shelf to finished as quickly as possible. So here we are going on two years later and I haven't even touched the project since. While it's the oldest project in the shop it will not be the first one completed. It will most likely be the last one complete of the ones I am listing in this post. What I am committed to is not starting any new projects until all these are deemed complete.


The second oldest project in my shop is the wave top Trinket Box. This sucker has been collecting dust in the shop since August 2012. Actually. I have picked this project up a couple times over the last year and done some quick task towards completing it. As a matter of fact this morning I finally installed the hinges I purchased for the project several months ago. My biggest stumbling blocks on this project have been edge treatment for the lid and dealing with the base. As it is currently the base is flat and to me it just seems very heavy or static. I know adding legs will lighten its appearance, but I cant decide how or what style of legs will serve the the design best. Again I have set the goal to complete this project before any news ones hit the bench, so if you have suggestions I am all ears.


I have made no progress on the live edge table recently, with all the family health related activity going on around me so I won't bore you with static pictures from other recent posts. This table is the third oldest project in the shop and will likely be the second one to be completed, as my wife has made a special request, which I'll describe last. As for the table though I still have the shaping on all the parts to complete, then I'll need to pull out the special effects kit to hide several major boo boos, followed by sanding, sanding, sanding and then finally finishing. As far as finishing goes I really haven't decided, but I am pretty firm that it will be a matte/natural finish. I have never really been a fan of the high gloss finishes, but for some reason (mainly because its what I had on hand) I've found myself stuck in the rut. Once there is progress worth posting you'll see the live edge table again.

Lastly, (sighs of relief I am sure) is my wife's special request. She ask me to make a shelf to put over the dryer to hold the laundry detergent. We use the dispenser/refillable type bottles for both our detergent and fabric softener, so she thought it would be convenient to have the dispensers placed in a location she can dispense them without having to pick them up from the shelf or dryer. Not wanting to disappoint the boss I immediately went to the doodle pad. Very simple plywood construction with dados, screws and of course Titebond II. Once the shelf is complete it will be fastened directly to studs in wall above the dryer. Below are Sketch Up models and photos of the progress through this morning. This will be the next project to leave the shop stamped complete. If Momma ain't happy, ain't nobody happy...


Until my next post,

Keep Your Mind on your Fingers and your Fingers on your Hands!!!

Sunday, May 12, 2013

Miter Station 100% Complete

Happy Mother's Day & Happy Birthday to my Father!!! Although he past away in 2000 his birthday is always a time for me to reflect on how luck I was to have him in my life.

Well this week has been deja vu all over again. While my Wife was released from the hospital earlier in the week my Mother was admitted late in the week. Thankfully, at least to this point, everyone seems to be on the road to recovery. So this Mother's Day is all about recovery and providing support to the special ladies in my life.

Obviously, woodworking has been in the backseat the last couple of weeks, but I have managed a few minutes of stress relieving bliss in the woodshed. Primarily my focus was on cleaning up the chaos created from the garage and basement sump pump installation and the beginnings of shaping all the legs and stretcher on the Live Edge table. Because the hospital circus came to town, I put the Live Edge table back in the inactive pile.

What I was able to do is 100% finish up the Miter Station project. I locked in the shelving storage unit and applied a gloss (because thats what I had on hand) poly finish. I removed the miter fence and installed standard Rockler Hardware T-Track on the top. I made a sliding stop block out of scrap oak and walnut and applied the same gloss poly as finish. Below are a few pics of the finished product.

I am reasonably please with my results and feel I made minor improvements in several areas on this project. The only thing I did not follow through on based on my original plan was edge banding the plywood shelving unit. The two simple reasons for not doing so are time and satisfaction with the appearance without the edge banding. This unit will never come out of the shop and the functionality is what's key.

I am not ready for the big show by any means, but I think feeling as though you've improved from project to project is the mojo that makes us all initiate that next project. From that perspective I am very pleased and ready to finish a couple of the other projects I have initiated including a Jewelry Box and the Live Edge Table.


Until my next post...

Keep your mind on your fingers and your fingers on your hands!!!


Thursday, May 2, 2013

Back to the Grind...

Grind may be slightly exaggerated, its more like shaping and sanding. I am finally getting back to work on the live edge table.

I will be using my block plane and rasps to fair the corners of the legs and the curved stretcher. I am looking to eliminate all hard edges and straight lines from the finished piece.

At this point I have completed the shaping of one face (two corners) of one of the legs. It took about 3 hours to get it where I am satisfied with how it looks.

I am currently using the block plane to hog off most of the material. I create facets on corners until I get the general curve and the use the rasp to clean to the desired shape. I am thinking that a concave spokeshave would dramatically speed up the process of removing the bulk of the material, but right now its not a weapon in my arsenal.

Here is a question I have been batting around as I've worked the curves. Do I complete the entire leg including sanding to near assembly ready or do I fair all the curves and then move to the sanding? My desire (impatience) to see the finished product makes me think I should sand and then fair the next leg, but my common sense tells me to fair everything and then sand everything. Curiosity, how would you handle the work flow in this situation?

Due to my wife's hospitalization I'll have to post pictures at a later time.

Until my next post...

Keep your mind on your fingers and your fingers on your hands!!!

Saturday, April 27, 2013

Early Sources Of Inspiration...

The end of this week has been filled with non-woodworking efforts related to my employment, so my shop has been silent nearly all week. Instead of the normal post about what I am doing in the shop I thought I would post a few links to several of the sites that provided inspiration to me as I was getting started. Below is a list of the sites in no particular order. I hope next week's post will be a little nosier.


These are just a few of the sites that provided the fuel to my fire and I greatly appreciate all the effort each of these contributors has provided. I realize a lot of the links are so commonly known that most people will already be aware, but I am hopeful someone may stumble across at least one they were not.

Hope everyone has a great week with lots of shop time.

Until my next post:

KEEP YOUR MIND ON YOUR FINGERS AND YOUR FINGERS ON YOUR HANDS…


Monday, April 22, 2013

Plywood Shelf & Sump Pump Installation

Well this week has been filled to the brim with woodworking nirvana and back breaking labor. On the woodworking front I was able to assemble the Plywood Shelf I discussed in the last post. On the back breaking labor side of things I have, with the help of a friend (THANKS JOEY!!!), installed a sump pump in our garage. This installation has really needed to happen since I was a youngster, but never became high enough priority. Now with the pump installed it may be possible to slowly migrate the woodshed from the basement to the larger garage. As usual all the pictures are at the end of post, enjoy (I hope)!!!

Regarding the plywood shelf build, I have put the one and only coat of BLO on the shelves and will finish it out with two coats of poly. For all intended purposes the shelves came out functionally perfect. In comparison to personal expectations they didn't come out quite as accurately or error free as I would have liked. As I stated in the previous post this was my first time using a router to create dados and actually the first time I've created dados period, so I suppose I shouldn't be too surprised with the outcome.

I really wished I could figure out why my projects seem to lack the precision that I am expecting. Early on I in my efforts I recognized that I tend to rush things. Sometimes I would make a cut before I was 100% sure or make a cut based on a single measurement. Now I am "TRYING" to force myself to measure, measure again and then repeat the measurement just to be sure. When I am "TRYING" something, or figuring something out, for the first time I "TRY" to make myself either physically test the process or think all the way through the processes at least two or three times before going live. I "TRY" to think of all potential failure paths, possible mental and physical obstacles to success and I "TRY" to make sure I clearly think about what is a successful outcome to the process/problem.

Recently (honestly currently) I was "TRYING" to blame a lot of my precision issues on the quality and quantity of my tools. I can't get this curve because I don't have this bandsaw blade. I can't get accurate tenons because I don't have a shoulder plane. I can't "TRY" that technique because I don't have a double beveled case hardened giraffe-necked two-handed wizzywhatsit. I can't "TRY" that because my table saw is accurate enough. Now I am "TRYING" to force myself to push through these limitations. I "TRY" to adjusted my thought processes when I find myself "TRYING" to use the tooling rationale as an excuse. I just tell myself to quit the quitting and "TRY" the "TRYING". If I fail I just chalk it up to practice makes perfect, next challenge please.

Simply stated, I am "TRYING" to make a significant effort to avoid "STUPID", which seems to dog me on a much too regular basis. 

Who knows maybe one day or one project somewhere in the future it'll all come together and I won't wonder anymore. I'll just look back at all the memories, sawdust, splinters, band-aids, scrap lumber, blazing fire pits and occasional successes and think how much enjoyment I've gotten out of all this "TRYING"!!! Now excuse me I've got another crazy idea I want to "TRY"!!!

Until my next post:

KEEP YOUR MIND ON YOUR FINGERS AND YOUR FINGERS ON YOUR HANDS…

±40 Gallon Poly Drum With 1/2" Holes In Bottom 2/3 Wrapped In Landscape Fabric
Low Corner Of Driveway Just Inside Garage (Water Has Gotten About 2' Deep Before)
Hand Dug 20-25' Ditch 12-18" Deep - ±8' Through +4" Asphalt
Right Side View
Front View
Left Side View

Saturday, April 13, 2013

Live Edge Table Progress & Plywood Shelf Design

This weekend has been and will continue to be rather hectic, so this post will be short on the verbiage and more picturecentric. Hope that you enjoy it none the less.

OK, so I've continued slowly working on the Live Edge Table. At this point, as you'll see in the photos below, the overall form is complete. I finished the stretcher and mortises and currently have the table dry fitted. I am less than proud of my joinery, but chalk most of the errors up to the learning process. The biggest issue is sloppiness and plenty of it. The biggest cause for the errors, aside from inexperience, is quality chisels and honestly the patience to keep my crappy ones sharpened. The old 1970's Stanley's I have from my father hold an edge about as well as a historical re-enactment holds my 12 year old son's attention. Hopefully one of my next significant acquisitions will be a decent set of chisels. I've been ogling a set or two from Tools For Working Wood. From this point the project turns into to a shaping and sanding and shaping and sanding project. As noted in my previous post about the project, all the edges on the legs will be rounded over and blended into the top of the table. You'll notice in the photos that I've played with curves in the stretcher and it will also receive the rounding and shaping treatment. In the end I'll have to use some epoxy to compensate for some of the looser joints. I plan on shimming as much as possible and then use the epoxy for gap filling. I will post a future update as the project wraps up.


In other news... I am trying to finish my miter saw station that I posted about a few weeks ago. While it is fully functional as a miter station, I never completed the shelving behind the fence or installed the t-track on the fence. Well below you'll see a couple of Sketch-Up images that show the general design. I haven't shown the edge banding, but I do intend to use 1/8" Red Oak strips on all the exposed plywood edges. The first image it is the final completed station, minus the t-track. The substructure, miter extension table and fence are already completed. The second image depicts the shelving and bin storage unit design that remains to be constructed. This will be my first project using my new Bosch Router and the first time I've used dados as the primary joinery. I've made an exact wide dado jig for the router, so hopefully a couple of practice runs and I'll be ready to go live. Unfortunately there isn't a local source for quality plywood, so Lowe's Birch 3/4" will have to suffice. I figure its a shop fixture, so good practice anyway. Again, I'll post an update as I get this one rolling too.


Until my next post:

KEEP YOUR MIND ON YOUR FINGERS AND YOUR FINGERS ON YOUR HANDS…


Thursday, April 4, 2013

Don't You Just Love Birthdays...

Well the last week of March is always a good time of year, as far as I am concerned. I think most people feel similarly during the week of their birthdays. This year was no exception, as I was blessed with well wishes and gifts from many of the special people in my life. Thanks to everyone for making it a great day!!!

The one item I received that kind of sticks out to me (not meaning to lessen my appreciation for ANY of the others) is my new Bosch 1617 EVSPK Router Kit. The router kit includes the 2-1/4 HP variable speed soft start router, the fixed base, the plunge base, a 1/4" collet and a 1/2" collet. Additionally, I was able to purchase a single 1/2" straight pattern bit and the complete dust collection shroud kit, which includes a fix based collection shroud, a plunge base collection shroud and the edge cutting collection shroud. All the dust collection accessories will not arrive until next week, so my patience will be tested. The only items I will need to acquire to round out the entire setup is the centering bit/guide and the guide bushing set. I built a quick and dirty  exact width dado jig early this week. After I play with this preliminary version of the jig I will create a second generation version using better materials for accuracy and durability, but for now this particle board version will suffice. Eventually I will start on a custom router table and fence similar to the New Yankee Workshop version. There are a couple of modifications I think I will make, but for the most part I'll stick to the plans.

The router is one of those items I have been putting off buying due to budget issues for some time, so I am very grateful to receive such a wonderful gift. While I will be keeping my father's old B&D router for sentimental reasons most likely it's use in the shop will be extremely limited. Maybe I'll set it up for round overs and/or chamfers? Any suggestions? This is like a 4 or 4.5 amp B&D Deluxe Router from the late 70's or early 80's, so it is neither powerful or "Deluxe" by comparison with today's router options.

After I complete a couple of the items on 
shelf of misfit projects I think I am going back to basics  to focus on some general cabinetry projects. Not that plywood cabinets are simplistic or easy to build, but more because I have never really taken the time to try to build any basic cabinet carcasses. The projects I have in mind are both shop built and household in nature. For the shop I am looking at several base cabinets, a router table and a couple of wall mounted shelving units. In the house it will be two bathroom cabinets for above the commodes, three different areas that need shelving and one kitchen wall cabinet. Nearly all of this will be primarily  plywood with some hardwood face framing. My one regret is the lack of a quality plywood provider in the immediate area. The bulk of these projects will have to be sourced from the local hardware company (Citizen's - Ace Hardware) or the big box (Lowe's) so material selection will definitely be a concern. If my world is perfect I would like to finish all these projects by the end of the year, so I better get busy!!! Not to mention painting the house and repairing eaves and soffits. Oh boy!!!

Below are a few pictures. I will provide a brief review of the router in a future post. For now suffice to say it is the greatest router ever and there is absolutely nothing wrong with it!!! But don't think I am naive enough to actually think these are not biased preconceived notions generated out of the sheer excitement and jubilation of receiving a TOOL for my birthday. When the review hits the site it will be based on the facts after using the tool for a couple projects and experiencing both the pros and the cons of its operation. For now, I'll enjoy the blind ECSTASY!!!


Until my next post:

KEEP YOUR MIND ON YOUR FINGERS AND YOUR FINGERS ON YOUR HANDS…

Saturday, March 30, 2013

Live Edge Table Build...

Well I wanted to challenge myself, so I started a live edge table build back before the holidays. After I screwed up the joinery at the top of the first leg I shoved the project back up on the shelf of misfit projects. Until yesterday I figured it would never see the light of day, but I've had a change of heart. Although I won't be able to fix (cosmetically modify maybe) the original screw up I figure there are still lessons to be learned from the project.

Everything I am attempting is really a first attempt and although I have read and watched quite a bit of woodworking related educational materials, the solutions and processes I am using are self destructiv... I mean I am figuring them out on my own. I realize there are better ways to do everything I am trying to do, so I am begging anyone and everyone to comment and share their ideas, suggestions and experience. I have had trouble finding local educational resources and a woodworking community to learn and share ideas with, so the internet is my resource for sharing my passion for the craft. So please feel free to point your fingers and laugh at my project(s), but don't leave me in the dark if you know a better technique, recognize a failure path or simply have a tip to share. I wouldn't mind a couple of atta boys along the way, but honestly they're not necessary for me to enjoy the journey.

Anyway below are a few pictures of the table, including close ups of the screw up. I am in the process of working on the joinery for the other leg and then it will be on to the stretcher. Wish me luck and let me know what you think!!!
Table Top

Live Edge
Going To Drill Out Epoxy As It Dried Yellow (Any Suggestions For Clear Drying Epoxy?)
Solid 8/4 Walnut Leg
Leg Edge Rounding Template (Mark Legs Then Use Planes, Scrapers And Rasps To Shape Edges)
One Leg Partially Shaped (Looong Way To Go. Wishing For A Draw Knife &/Or Spokeshave)
Arc At Base Of Legs (Note Tapering At The Top)
Mortise For Stretcher (Stretcher Will Be Made Of Hard Maple, Maybe Curly)
KABOOM!!! Not Sure What I Did Wrong, But Obviously Something Wasn't Right. I Had Plywood Backing Up The Stock As I Chiseled Through The Waste, So Anyone Got Any Thoughts On This One???
Dovetail Joint For Attaching The Top To The Legs
Marking Out The Dovetail On The Top (Just Started Chiseling Waste To Define Edges, Will Drill Out Bulk Before Final)
First Socket Completed. Disappointed In Sloppy Fit (Where I Had Shelved The Project Back Before The Holidays)
Until my next post:

KEEP YOUR MIND ON YOUR FINGERS AND YOUR FINGERS ON YOUR HANDS…

Saturday, March 23, 2013

Blog Entry - Triple Play...

 This week it is sort of like three posts in one, so I won't waste anymore time on the introduction.

The first thing I'd like to accomplish is providing a final update on my recent box build. It has taken me several days of stop and go woodworking to get to a point where I am calling the project complete. I won't say it was successful, but it is a box and it does have a lid, so it is complete. I finally settled for gluing a walnut lip around the inside of the lid. It is snug enough you can pick the box up off the table by the lid without it falling off, but it is loose enough lightly holding the base and the lid can be removed with minimal effort. Not the exact look I was going for, but functionally acceptable. On the finishing side of the project I also experienced disappointment. After having terrific success finishing the inside of the box with shellac I decided I would use the same for the exterior. I am fairly certain my failure lies in the drying time, or in the case of the exterior lack of drying time between application and sanding. When I did the interior I allowed probably 3 hours or so between coats. On the exterior I only gave it about an hour, if that before I would start to sand. I knew immediately there was a problem as the shellac seemed gummy and actually rolled up in balls as sanded. Not knowing how to address the issue I would continue sanding and apply additional finish. The next coat I would go through the same erroneous process. By the end, there were a few areas where the finish is obviously thinner and ridges can be seen in the finish. In hindsight I should have stopped sanding immediately and given the piece additional drying time. Then once it was completely dried I could have cleaned the areas already affected and moved on. One day I will probably make an effort to sand the entire project down to bare wood again and refinish the outside, but for now... IT IS WHAT IT IS!!!


My second subject involves one of my early sources of renewed inspiration to take up the hobby of woodworking. The Woodsmith Shop and their early internet based videos "Woodworking Online", provided me with both inspiration and the practical information to get me up to speed quickly. Over about a 3 week period I consumed all their online content and quickly turned to the Woodsmith & Shop Notes magazines for additional woodworking wisdom. This past week I had the opportunity to attend a software based training class in Des Moines, IA. The class was completely unrelated to woodworking, but provided me with an opportunity to visit the site of my early inspiration. I went on Tuesday night and again on Thursday to attend one of the seminars they put on regularly. At first I was somewhat disappointed to find out the seminar would not be technique or project based, but rather a glimpse in to the wildly popular public access based "Woodsmith Shop" tv program. Seeing I would most likely never get a second opportunity to attend I decided not to pass up the opportunity. There was an $8.00 entry fee, but I received a $5.00 coupon for any store purchase, so the net cost to attend was $3.00. In the end it was the best $3.00 I could've spent on entertainment. Everyone greeted me with kind words and a welcoming smile. I was already aware that Bryan Nelson, Managing Editor of Woodsmith and Shop Notes magazines was scheduled to be the presenter, but to my surprise both he and Don Peschke, Publisher of the magazines showed up for the presentation. For those of you unaware of the "Woodsmith Shop" tv program, Mr. Peschke is the primary host of the tv show and Mr. Nelson is a regular contributor and co-host on the program. While I didn't get the opportunity to meet them it was easy to see they are both passionate about the craft and seemed very approachable and down to earth. I really enjoyed my time in the store and certainly wished there was one in my neighborhood. I encourage anyone who has the opportunity to visit them. Thanks Woodsmith I truly enjoyed the visit!!!


And for the finale, I thought I would post a brief description of the item I purchased with my $5.00 coupon and $45.00 additional. The Wixey Angle Gauge with Level is one of those items I've thought of purchasing, but kept pushing out. With having to carry my purchase back on the plane the Wixey's small size seemed to fit the bill. I haven't had a real opportunity to use it yet, but it is such a one purpose kind of tool I highly doubt it will disappoint. I did try it on my miter station and was pleased that it appeared the saw is both level and the blade is plumb (or 90°) to the table. I wish I could get crazy excited over this purchase, but it does what it advertises. I am excited to have it in my aersenal and look forward to using it on future projects.


 Until my next post:
KEEP YOUR MIND ON YOUR FINGERS AND YOUR FINGERS ON YOUR HANDS…