Sunday, October 28, 2012

Hunka Hunka Black Walnut

Came across this large chunk of walnut today and couldn't pass it up. It has air dried in a shed for approximately 5-6 years. It is nearly 16BF and measures 4"x12"x48". At only $30 I paid just under $2/BF, so I think I'll be alright.

Now the first thing that popped in my mind is a bench seat. Then came the hall table idea and the twin stools. The original owner had intended it for a rifle or shotgun stock, so the potential is limitless.

Do you have an idea on what it should/could be used to create? Let me know your ideas. I may select a suggestion and document the build on the website.

Until my next post... Keep Your Mind On Your Fingers And Your Fingers On Your Hands!!!


Monday, September 3, 2012

Retirement Presentation Platform...

Thought I should get a quick post in on the project currently on my bench. It's a Retirement Presentation Platform for a display being created by the retirees staff. The retiree is a a Major General (Two Star) in the WV Army National Guard with right at 42 years of service. As a retirement gift his staff has decided to prepare a pair of bronze boots with additional service related memorabilia and mount eveything to this base. Originally, I was asked just to provide a 14"x14" piece of oak, but I decided to add a little embellishent to the final design. As the oak was requested specifically to match the decor of his home office, I used red oak as the primary material and added a small walnut accent, with dovetail corners, for contrast. The other item I added was small feet to raise the piece up and give it a hovering like effect. Away here a few pictures for you. Please review them and let me know what you think. These photes were taken just after the first coat of BLO and you'll notice some the excess hasn't been wiped off yet. Anyway hope you enjoy!

Until my next post,

Keep Your Mind on your Fingers and your Fingers on your Hands!!!


Sunday, August 26, 2012

The Trinket Box

Just a quick post on my latest project. I am in the process of building a Trinket Box and thought it was worth posting. Cherry and Walnut are the materials for the project and I plan on using a hinged lid and mortised lock set. The dimensions for the box are 12.5"x10.25"x4". There will be internal compartments, including at least one sliding upper tray. I will be using flocking to line inside of the compartments, which is a first attempt in the WV Woodshed, so wish me luck. Below are pictures of my progress to date.

Until my next post,

Keep Your Mind on your Fingers and your Fingers on your Hands!!!

Sunday, May 27, 2012

Can I or "CANT" I?

A little over a month ago I had the opportunity to visit a regional hardwood distributor. Their facility is huge, by my standards, and operations cover custom milling, kiln drying locally harvested hardwoods and national and international distribution. While I was there I purchased both 6"-8" wide 4/4 Cherry and 6"-8" 4/4 Walnut for future projects. I was amazed at the pricing, which was $2.00/BF for the Cherry (6' Shorts) and $4.00/BF on the Walnut (5' Shorts). The only disappointment was the fact they had limited supplies of thicker stock (8/4+) at that facility, but could provide any sizes within a week of ordering. I am very excited to know a reliable and affordable source of material is within a 45 minute drive of the house.

My visit to the distributor prompted a deeper look into local sources for domestic hardwood. Large scale distributors aren't around every corner, but local saw mills are prevalent in West Virginia and Southwestern Virginia. So I started looking and determined there are several mom and pop type operations, several of operations which supply the distributor I visited and a couple of large scale operations.

Friday, I had the opportunity to visit a local mid-sized saw mill to learn about their services and what materials they have available. I was also interested in purchasing some Hard Maple and Soft Maple, if the price was right. The first thing I learned from my visit is I need to call ahead to see what they're cutting. They schedule their cutting operations around "Supply and Demand", so they may cut Maple for two straight weeks and then not cut it again for 3 or 4. The second thing I learned is they ship the materials as fast as they come off the saw, so timing a purchase is imperative. They had just stopped cutting Maple the first of last week and were cutting Red Oak while I was onsite, so they didn't have (or did they?) any Maple available. After a pleasant conversation with the Yard Manager he offered to check one place they may have stashed a few scraps of maple from earlier in the week. Low and behold he comes walking back across the yard with two large Hard Maple "CANTS". They measured 44" and 48" in length, 6" in width and 14/4 "3.5") in thickness for a total of 13.4BF. I offered to pay for them, but he said they were on the house, so I loaded them up headed to the house.
Who Doesn't Love A Freebie?
Now to explain the title of this post. While these hunks of Maple are awesome to behold and difficult not to immediately cut into, I have to dry them and therein lies my quandary. Number one this is my first attempt to dry green lumber and secondly these "CANTS" have some heartwood and pith  running through them. Do I cut out the pith? If so, how much? Can I dry them in my shop? Would a dehumidifier help or hurt? Should I wax or paint the ends. So many questions, so little time AAaarrggggg!!! Simply asked; What can I or CANT I do to maximize the yield from these large pieces of green Hard Maple?

Any help or general comments would be appreciated. I have provided the picture below for your viewing pleasure and hopefully review and comment. Thanks in advance for the assistance!!!
Right End As View On Work Bench Showing Pith And Heartwood

Left End As View On Work Bench Showing Pith And Heartwood

Close Up Of End Grain Showing Sapwood, Heartwood And Pith

Bottom Of Longest Board
NOTE SINCE THESE PHOTOS I'VE MOVED THE LONGER BOARD TO
THE BOTTOM AND INCREASED THE LENGTH OF THE STICKERS

Until my next post,

Keep Your Mind on your Fingers and your Fingers on your Hands!!!

Saturday, May 26, 2012

Back from the Attack...

Well, I am sure few noticed my absence over the nearly three (3) months since my last post, but I am happy to say I am Back from the Attack...
Left = 80% Blockage Before   ---   Right = Post Stent Deployment
Lube and Filter Change was included in the Service
Oh alright, it wasn't really an "Attack", but it was eerily similar to that event back in 2008. Suffice to say one (1) (thankfully) mild heart attack and three (3) stents in six (6) years is enough!!! Especially considering that the first event, including the heart attack and a 95% blockage, ended with my first stent being deployed on my 40th Birthday! I won't preach or evangelize beyond this one post; but I cannot urge anyone reading this enough to get your cholesterol checked regularly! Also, never trust that your doctor knows your body better than you do, just because he or she is a doctor. I knew from my past episodes that I was having issues, but the doctors (yes more than one) said I was probably having heartburn. I kept pressing and finally they performed a Cardiac Catheterization expecting to find no issues. Well two (2) days later I was released from the hospital one (1) stent heavier, with a couple of apologies of acknowledgment from the doctors. Honestly, not an event I wanted to say; "NANANANANA, I TOLD YOU SO!!!" over. Bottom line, shop safety is imperative, but life safety is more crucial if you want to have an opportunity to spend time in the shop. Take care of yourselves!!!

ENOUGH!!! Now back to woodworking! Guess what I have finally finished. Yes, you are correct if you guessed the Floating Top Table. While there are more mistakes and issues with the project than there are things perfectly satisfactory; I am still pleased with the result. My original intention was to end up with a usable table and the final product is just that, usable. Below are several pictures of my efforts since my last post. I have tried to keep them in chronological order for some since of the work-flow, but there are obvious gaps in the project. While I had intended to cover this project in detail obvious issues derailed my intentions. This will be my last post regarding the floating top table, so let me know what you think. Even if you think I SUCK and should just give up woodworking and blogging, I would just appreciate hearing your opinion. Now whether I will follow your recommendations or not, well that is a completely different matter.
Curved Floating Top Supports Glued To Two Of The Aprons

Base Of The Table - 1st Dry Assembly

Table Top First Of Three Glue Ups

Couldn't Resist Peeking At The Grain Using Mineral Spirits

Complete Dry Assembly Prior To Final Sanding To 320 Grit
I Am Not A Professional Photographer, So Criticism Not Accepted

Floating Top - EEEeeeeewww AAAaaaahhh

Final Finish - 4 Coats General Finishes Arm-R-Seal 3 Coats Johnson's Paste Wax

Would Like To Check Out Walnut Pore Fillers Before The Next Walnut Project

Overall, I Have Acheived The Mission; "Its A Table That Functions Just Like A Table"!!!

Until my next post,

Keep Your Mind on your Fingers and your Fingers on your Hands!!!


Saturday, February 18, 2012

Tapering A Disaster

Well I knew there would be issues as I started this project, but I was bound and determined they would not be caused by haste. Man oh man, how I hate when I end up eating my words!!!

This morning I headed to the shop to finish cutting the mortise in the last leg. I am excited to report that while the mortising process is still taking me quite a bit of time, I can definitely see a big difference. Ten thousand more mortises and I should be ready to call myself an apprentice.

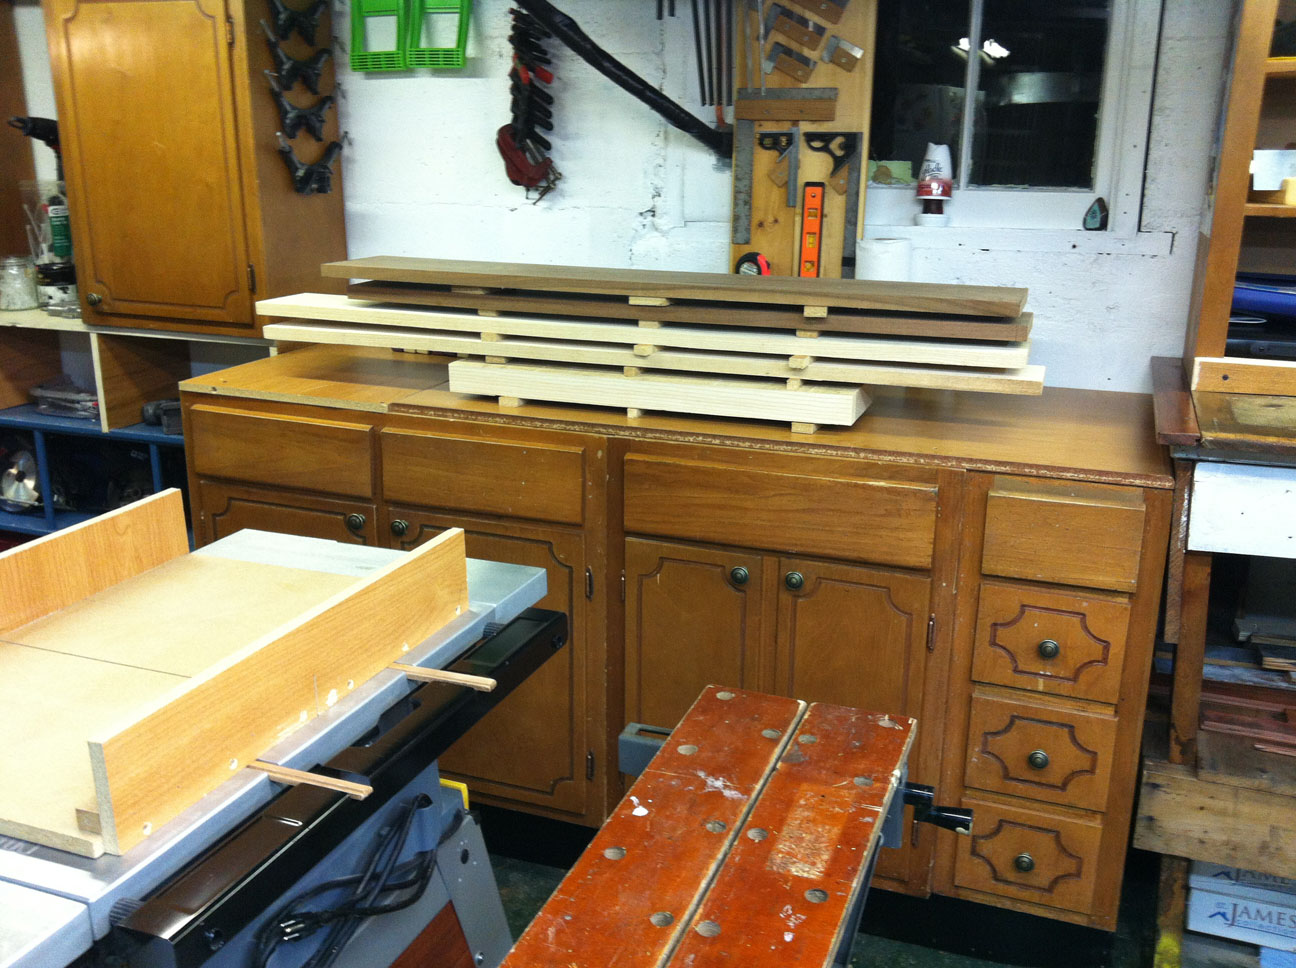
Once I finished the mortise I took a brief break and then it was onto the tapering jig. While I take no pride in my jerry-rigged jig it will work fine for this project. Sometime in the future I will put more effort into creating a masterpiece. Just so you know the jig has nothing to do with the disaster.
Now, I lock in the first leg, set the fence to the appropriate width and fire up the saw ready to make the first cut. I push the front right leg through the saw and everything works great, maybe even better than expected. Aside from what I consider excessive tool marks from the blade, the taper looked great. The leg gets a second taper on the other outside face of the leg, so I taped the offcut back to the leg, rotated the piece and completed the cut. Once again it went off without a hitch. I was so pleased I decided to go ahead and plane the tool marks and basically finish the leg. I even went ahead and cut the decorative bevels in the top of the leg and planed them smooth as well. When I was done I had my first finished leg and a broad grin across my face.
Leg number two, lets get 'er done! I am ready, excited and confident I will have all the legs finished by the end of the day. I am thinking man this woodworking thing is really getting easier by the minute. Within a year I could easily be considered for woodworker of the year honors and my name will be mentioned with the greats. Nothing can go wrong! I got this all figured out!!!!!

SssCccRrrEeeCccHhh... Did I just get stupid or what? Insert second leg into the tapering jig, make sure the jig is properly aligned with the fence, start to make the cut and everything is going great just like the first time. Inch by inch the piece slides by the fence smooth as butter, supple as silk and man the mortise even lines up perfectly with the blade. WAIT!!! What am I seeing! The mortise is lining up with the blade? That ain't right! I'm not really seeing that, am I? Needless to say and despite freedom of speech, I cannot post the descriptive verbal apocalypse that matriculated from my oral orifice, but I am sure you can imagine. In my blind lust to complete the legs, I had placed this leg in the tapering jig backwards. Instead of tapering the piece from the top to the bottom my taper ran from the bottom to the top and cut directly through the middle of the mortise. A complete disaster in my book, not to mention this was what I considered the best leg, because the stock was rift cut and had the best grain flow of all the legs. I was devastated to the point I just decided to clean the shop and call it a day.
Thankfully, I have enough left over stock to create a fifth leg. Now, I'll get to see if I can recreate a matching leg after the fact. I should have been milling this spare part right along with the others as a precaution, but I'll have to chalk it up to a learning experience and move on. One other take away for this experience is always work from the least visible or most unattractive piece to the most visible or best in order to avoid ruining them and to work out the kinks before cutting them. While this was a real bummer, I will not let it keep me idle for long. Tomorrow I plan to hit the ground running and at least get the leg recreated.

Until my next post,

Keep Your Mind on your Fingers and your Fingers on your Hands!!!

Tuesday, February 14, 2012

My Tortoise Mortise

Just thought I would throw a couple of pictures of my very first mortise on the site for posterity. The reason I called it my tortoise mortise is because it took me nearly two hours to knock it out. Like I've said before time is not the issue with this build I just want to successfully complete the end table. It may not end up being perfect, but it has to be usable.


Please let me know if you see anything I could improve on or make any suggestions you think may help me speed up the process. Thanks for visiting the WV Woodshed!!!

Until my next post,

Keep Your Mind on your Fingers and your Fingers on your Hands!!!

Sunday, February 12, 2012

The Legs Are Milled

Well I got busy this morning and milled the legs to near final dimension. One more pass through the planer and they'll be done. I have also laid out all the mortises and the angular decorative top. I intentionally added to each measurement in order to compensate for final milling. I think the last pass through the planer may actually clean up some of the marking. I won't actually cut the decorative top until I finish tapering the legs, as the taper is full length on the out side face of each leg.


One significant learning experience I encountered was exactly what Michael Morton (http://www.michaelmorton.com/) had explained to me yesterday. RIFT SAWN, RIFT SAWN, RIFT SAWN!!! What an aesthetic difference there is between flat sawn and rift sawn especially in something like a leg. What I am kicking myself on is the fact that I had seen this demonstrated in several videos and books, but never completely grasp the concept. I guess this is evidence that you can read and watch a million videos, but if you don't get in the shop and practice, practice, practice you'll never learn to use the knowledge.


Please let me know what you think! One thing I've always believed is there is always a better way and somebody out there knows it. Thanks for visiting!!!

Until my next post,

Keep Your Mind on your Fingers and your Fingers on your Hands!!!

Saturday, February 11, 2012

??Question?? - Milling Table Legs

I am staring at my lumber for the end table project I am starting and the questions are beginning to roll through my empty echo chamber. My wife and close friends tell me I tend to over analyze things and make them way to complicated, but in this case I'd rather ask than make a mistake straight out of the chute.

Scenario  - The stock for my 1.5"x1.5"x25.5" table legs is a rough cut piece of 8/4 White Ash 9"x30". As I think about the milling process I realize my Delta Jointer is a 6" unit. Obviously, in my mind anyway, I do not want to cut the stock to exactly 6" to start the jointing process because there is no waste for milling. My current intention is to cut 2 pieces from the stock to 3.5" wide, flatten one face and square one edge on the jointer. Once I have the 2 pieces flat and square I will split the stock again at the table saw to make the 4 legs and then move back to the jointer to edge joint 2 of the legs and then to the planer for final dimensions.

Before I make a mistake I though I would see what you guys/gals think and whether you had any ideas for a better method. As you may have read in my earlier posts this is my first furniture project and actually only my 3rd or 4th project all together, so I want to be cautious.

Thanks for any assistance or comments you may provide!!!

Until my next post,

Keep Your Mind on your Fingers and your Fingers on your Hands!!!

Get Woodworking Week 2012


My contribution to Mr. Tom Iovino's (TomsWorkbench.com)

OK, no more excuses. The lumber arrived yesterday and is currently stickered and acclimating in the workshop area. Nearly $100.00 worth of White Ash and Walnut ready to be abused and tormented into something that may resemble an end table. OMG, what have I gotten myself into.


The project, which a link was provided in the previous post, is an end table that appears to have an elevated or floating top. The one modification I made to the project is I intend to utilize ash for the center/hidden supports instead of walnut referenced in the plans. This was purely a cost consideration and I didn't feel hiding the walnut under the table top added anything to the appearance.


As I do not have a local source for hardwood; I acquired my stock from Bell Forest Products after pricing the required materials at several online vendors. Their representative (Eric) was very helpful and willing to assist with my project specifications without issue. He explained their process to me and everything went off just he had stated. The lumber he provided seems perfect. Clear and free of defects just as he stated. My only concern was the packaging. While my materials appeared to survived the shipping process unscathed, the packaging was not nearly as lucky. I held my breath as I inspected the contents, but in the end everything was fine. I give the experience an A-, with shipping being the only concern for future purchases.

In preparation of "Getting Woodworking" on the end project I have constructed a table saw crosscut sled and have started preparing a tapering jig for the table saw also. The unusual problem I've had to deal with is that the mitre slots on my Craftsman table saw are unique and don't work with most universal jigs or fixtures. In order to construct the sled and tapering jig, I've had to make wooden track bars for the mitre slots. It took about 3-4 attempts before I got something that works, but that is all part of the fun of woodworking.

In other Getting Woodworking related news; I have finally begun to peak the interest of my 11year old son, John. Over the last week he and I have spent about 4 hours in the shop together. He seems particularly interested in sawing stock and I have been explaining and demonstrating how to use the wheel marking gauge, the square and other marking instruments to layout his cuts. We still haven't jumped into a project together, but I think he wants to be involved in the end table build, so with that let's Get Woodworking.

THANKS TOM FOR SUCH A TERRIFIC IDEA AND ALL YOU DO FOR THE WOODWORKING COMMUNITY!!!

Until my next post,

Keep Your Mind on your Fingers and your Fingers on your Hands!!!