Sunday, May 27, 2012

Can I or "CANT" I?

A little over a month ago I had the opportunity to visit a regional hardwood distributor. Their facility is huge, by my standards, and operations cover custom milling, kiln drying locally harvested hardwoods and national and international distribution. While I was there I purchased both 6"-8" wide 4/4 Cherry and 6"-8" 4/4 Walnut for future projects. I was amazed at the pricing, which was $2.00/BF for the Cherry (6' Shorts) and $4.00/BF on the Walnut (5' Shorts). The only disappointment was the fact they had limited supplies of thicker stock (8/4+) at that facility, but could provide any sizes within a week of ordering. I am very excited to know a reliable and affordable source of material is within a 45 minute drive of the house.

My visit to the distributor prompted a deeper look into local sources for domestic hardwood. Large scale distributors aren't around every corner, but local saw mills are prevalent in West Virginia and Southwestern Virginia. So I started looking and determined there are several mom and pop type operations, several of operations which supply the distributor I visited and a couple of large scale operations.

Friday, I had the opportunity to visit a local mid-sized saw mill to learn about their services and what materials they have available. I was also interested in purchasing some Hard Maple and Soft Maple, if the price was right. The first thing I learned from my visit is I need to call ahead to see what they're cutting. They schedule their cutting operations around "Supply and Demand", so they may cut Maple for two straight weeks and then not cut it again for 3 or 4. The second thing I learned is they ship the materials as fast as they come off the saw, so timing a purchase is imperative. They had just stopped cutting Maple the first of last week and were cutting Red Oak while I was onsite, so they didn't have (or did they?) any Maple available. After a pleasant conversation with the Yard Manager he offered to check one place they may have stashed a few scraps of maple from earlier in the week. Low and behold he comes walking back across the yard with two large Hard Maple "CANTS". They measured 44" and 48" in length, 6" in width and 14/4 "3.5") in thickness for a total of 13.4BF. I offered to pay for them, but he said they were on the house, so I loaded them up headed to the house.
Who Doesn't Love A Freebie?
Now to explain the title of this post. While these hunks of Maple are awesome to behold and difficult not to immediately cut into, I have to dry them and therein lies my quandary. Number one this is my first attempt to dry green lumber and secondly these "CANTS" have some heartwood and pith  running through them. Do I cut out the pith? If so, how much? Can I dry them in my shop? Would a dehumidifier help or hurt? Should I wax or paint the ends. So many questions, so little time AAaarrggggg!!! Simply asked; What can I or CANT I do to maximize the yield from these large pieces of green Hard Maple?

Any help or general comments would be appreciated. I have provided the picture below for your viewing pleasure and hopefully review and comment. Thanks in advance for the assistance!!!
Right End As View On Work Bench Showing Pith And Heartwood

Left End As View On Work Bench Showing Pith And Heartwood

Close Up Of End Grain Showing Sapwood, Heartwood And Pith

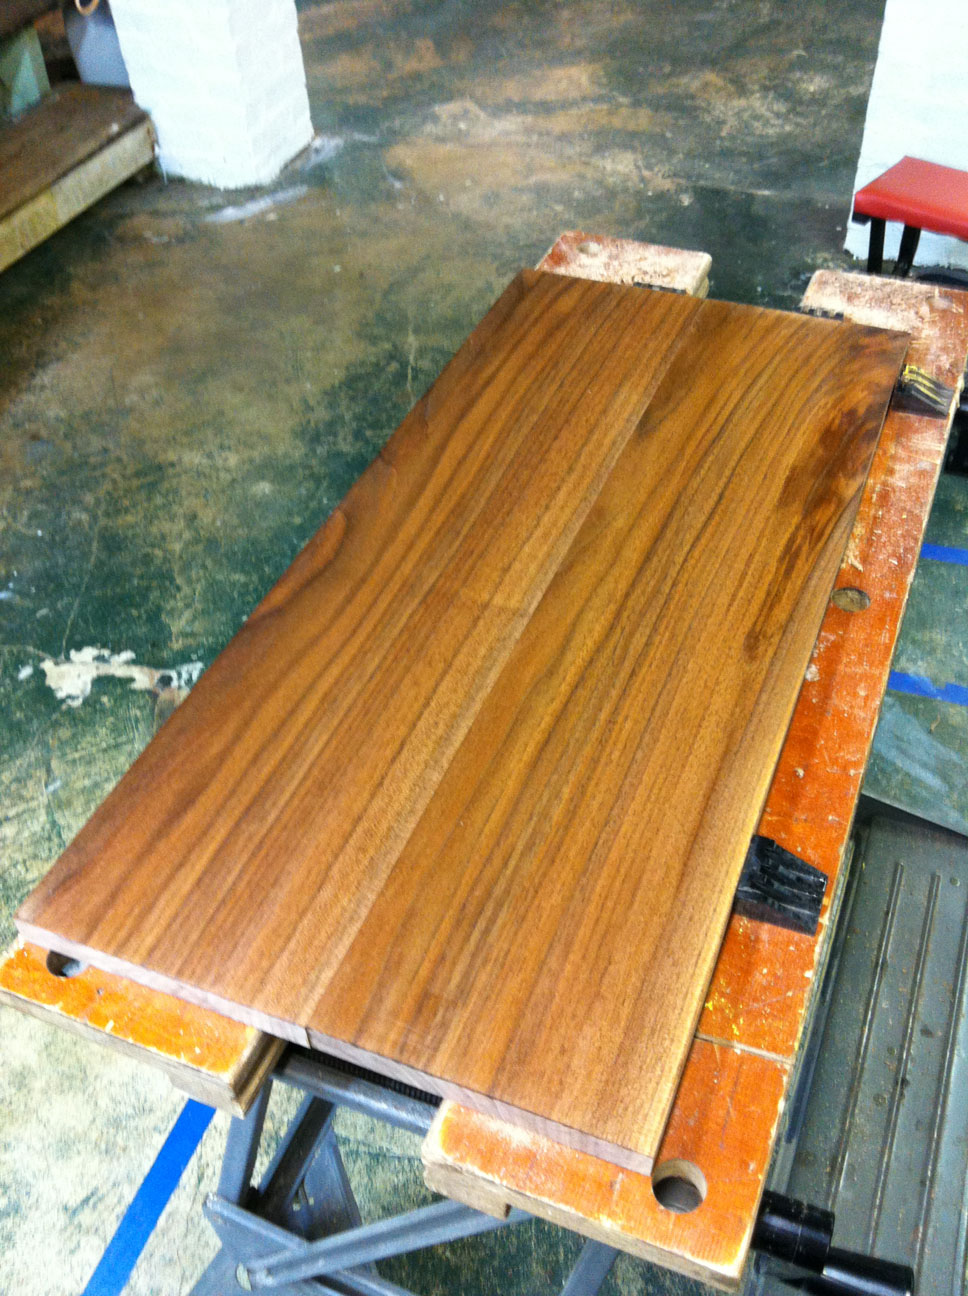
Bottom Of Longest Board
NOTE SINCE THESE PHOTOS I'VE MOVED THE LONGER BOARD TO
THE BOTTOM AND INCREASED THE LENGTH OF THE STICKERS

Until my next post,

Keep Your Mind on your Fingers and your Fingers on your Hands!!!

Saturday, May 26, 2012

Back from the Attack...

Well, I am sure few noticed my absence over the nearly three (3) months since my last post, but I am happy to say I am Back from the Attack...
Left = 80% Blockage Before   ---   Right = Post Stent Deployment
Lube and Filter Change was included in the Service
Oh alright, it wasn't really an "Attack", but it was eerily similar to that event back in 2008. Suffice to say one (1) (thankfully) mild heart attack and three (3) stents in six (6) years is enough!!! Especially considering that the first event, including the heart attack and a 95% blockage, ended with my first stent being deployed on my 40th Birthday! I won't preach or evangelize beyond this one post; but I cannot urge anyone reading this enough to get your cholesterol checked regularly! Also, never trust that your doctor knows your body better than you do, just because he or she is a doctor. I knew from my past episodes that I was having issues, but the doctors (yes more than one) said I was probably having heartburn. I kept pressing and finally they performed a Cardiac Catheterization expecting to find no issues. Well two (2) days later I was released from the hospital one (1) stent heavier, with a couple of apologies of acknowledgment from the doctors. Honestly, not an event I wanted to say; "NANANANANA, I TOLD YOU SO!!!" over. Bottom line, shop safety is imperative, but life safety is more crucial if you want to have an opportunity to spend time in the shop. Take care of yourselves!!!

ENOUGH!!! Now back to woodworking! Guess what I have finally finished. Yes, you are correct if you guessed the Floating Top Table. While there are more mistakes and issues with the project than there are things perfectly satisfactory; I am still pleased with the result. My original intention was to end up with a usable table and the final product is just that, usable. Below are several pictures of my efforts since my last post. I have tried to keep them in chronological order for some since of the work-flow, but there are obvious gaps in the project. While I had intended to cover this project in detail obvious issues derailed my intentions. This will be my last post regarding the floating top table, so let me know what you think. Even if you think I SUCK and should just give up woodworking and blogging, I would just appreciate hearing your opinion. Now whether I will follow your recommendations or not, well that is a completely different matter.
Curved Floating Top Supports Glued To Two Of The Aprons

Base Of The Table - 1st Dry Assembly

Table Top First Of Three Glue Ups

Couldn't Resist Peeking At The Grain Using Mineral Spirits

Complete Dry Assembly Prior To Final Sanding To 320 Grit
I Am Not A Professional Photographer, So Criticism Not Accepted

Floating Top - EEEeeeeewww AAAaaaahhh

Final Finish - 4 Coats General Finishes Arm-R-Seal 3 Coats Johnson's Paste Wax

Would Like To Check Out Walnut Pore Fillers Before The Next Walnut Project

Overall, I Have Acheived The Mission; "Its A Table That Functions Just Like A Table"!!!

Until my next post,

Keep Your Mind on your Fingers and your Fingers on your Hands!!!